I recovered my ironing board years ago, but I wasn’t very happy with it. I finally got tired of it (the pad was starting to show the imprint of the metal mesh of the ironing board base) and decided to finally sew a new one. Sewing a new ironing board cover takes just over an hour and it so beautiful now! I’m really looking forward to ironing and pressing on the new cover!
Here’s what you need if you want to recover your own:
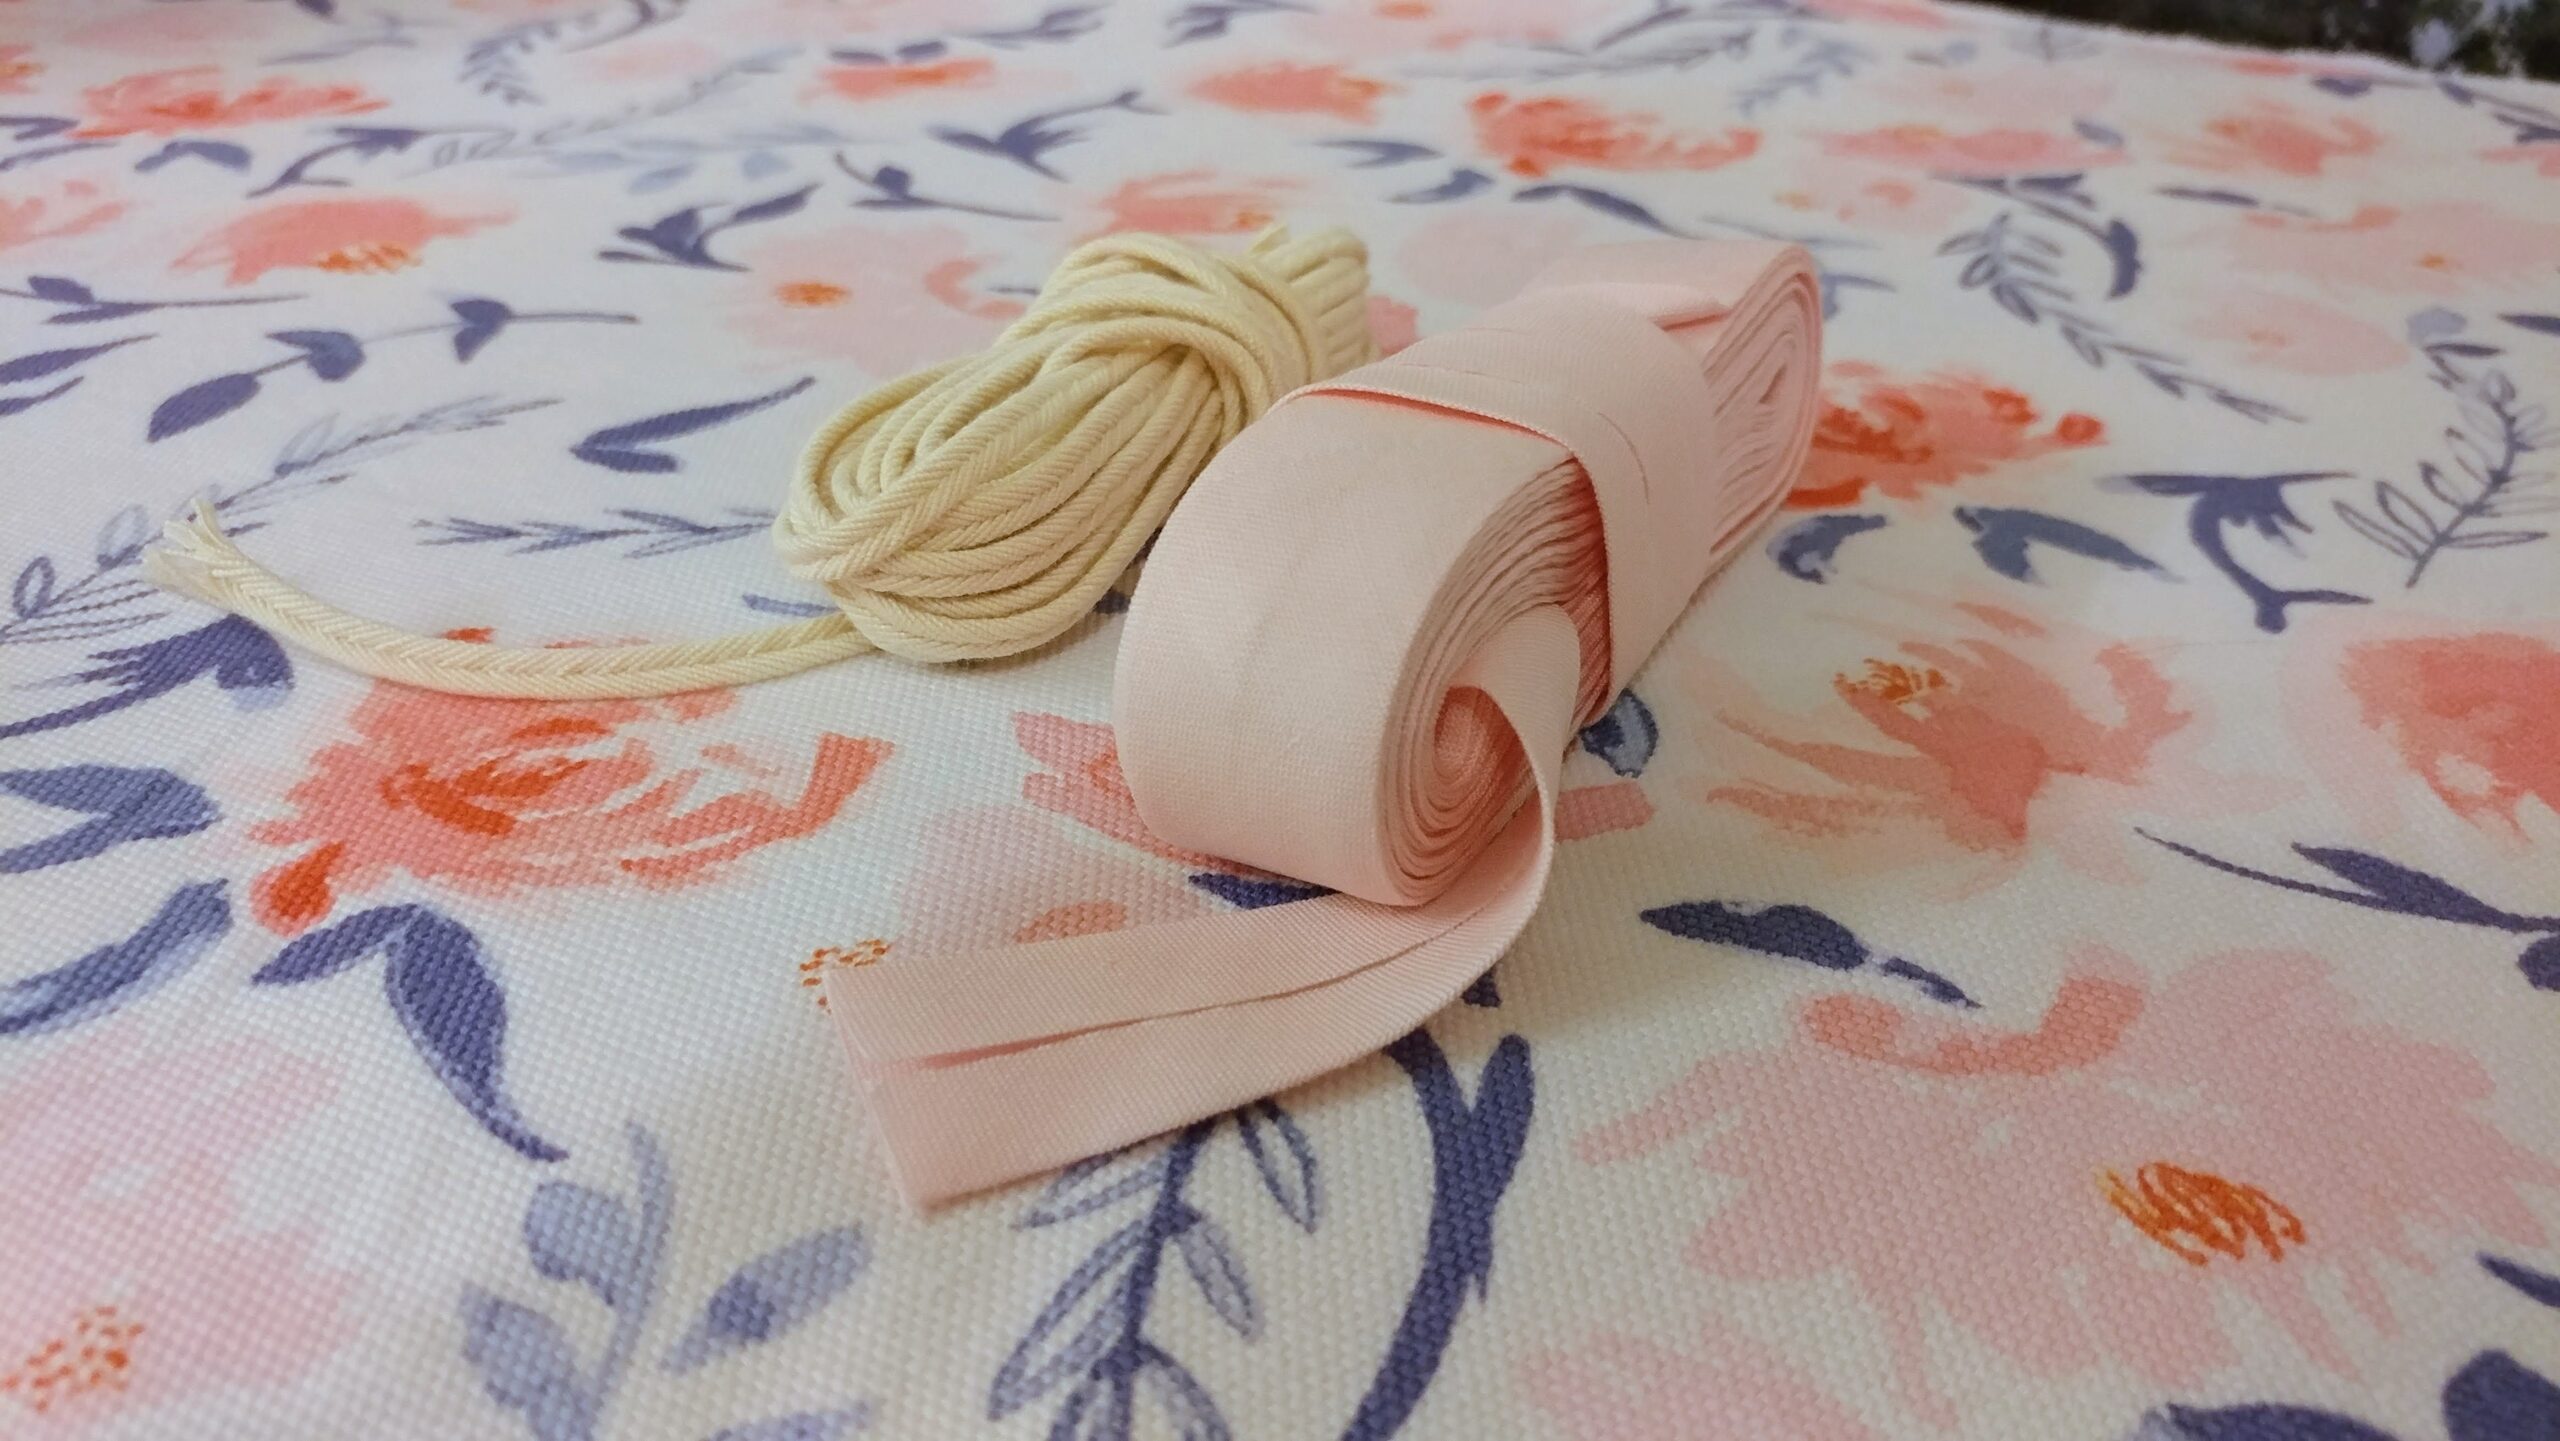
- 2 Yards Fabric – I used this beautiful Art Gallery Canvas
- 5-6 Yards Bias Tape
- 4 Yards Cording
- 1 Crib Size Batting/Padding (Optional)
- 1 Cord Stopper (Optional)
Pattern Prep/Old Cover Prep

My ironing board is an oversized Rowenta ironing board (it’s apparently discontinued, but this seems to be a newer model). Because of this, I’m not able to buy a new cover for it, and I can’t really use other paper patterns and hope that it will fit. Good thing it’s pretty easy to draft a new cover! I used the old cover as a pattern, but because I used a foldover elastic to tighten it around the board and I needed to rip it out. After that I pressed the old cover to get an accurate shape to cut out of the new fabric.
Making the New Cover

For this process I pretty much used the instructions here. Using the pressed old cover as a pattern, I cut out a new cover from the fabric and two layers of batting. Then I applied bias tape all around the new cover, starting at the middle bottom of the cover (if the top is the narrow part of the board).

I used a bodkin (This one is great!) to thread the cording through the bias tape casing. I left the old pad on and just draped the new layers of batting over it, then put the new cover on and cinched it down. The cording I used was a bit thick and the bias tape ended up ripping out of the cover in a couple places; I’ll fix this once the batting compresses down and I need to adjust the cover for it.

Finished!
This completed new cover is so bright and cheerful – I know I’m going to really enjoy ironing and pressing on it. Some final thoughts if you are thinking about making a new ironing board cover for yourself:
- The old cover I made used foldover elastic to cinch the cover to the board. For a board of the size I have, this didn’t work very well and the narrow top of the cover was always a loose and could shift.
- I used great cording (I use it all the time for drawstrings on project bags), but it wasn’t the best for this case. The cording was quite thick in the casing and the bias tape ripped out in a couple places on the board. I’ll use a different cording next time.
- I might consider adding straps near the middle of the board next time; the pad has these straps and doesn’t shift around at all. I’ll see if this cover starts to shift once the new padding compresses down.
- I thought this project would be tedious to make and put it off for quite a while. It actually took very little time to make, maybe 90 minutes if I could the time I took to remove the elastic from the old cover. Sometimes you just need a little encouragement to overcome procrastination and get something very satisfying in the end!

Have you recovered your ironing board before? If you have, do you have any tips or recommendations to share? If you haven’t and need a new one, why not try making one? Sewing a new ironing board cover is an easy, quick, and satisfying project!