Do you ever make a mistake in your knitting and debate if you should rip back or start over? You don’t have to make that choice! I recently made a mistake in a cabled project and was able to rip out just that offending section, saving me a lot of time in ripping back the whole thing or starting over. Fixing knitting mistakes is so easy, just requires some patience! I’m going to show you how I fixed mine!
Mistake in Knit Honeycomb Cable
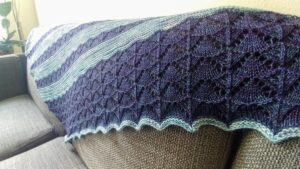
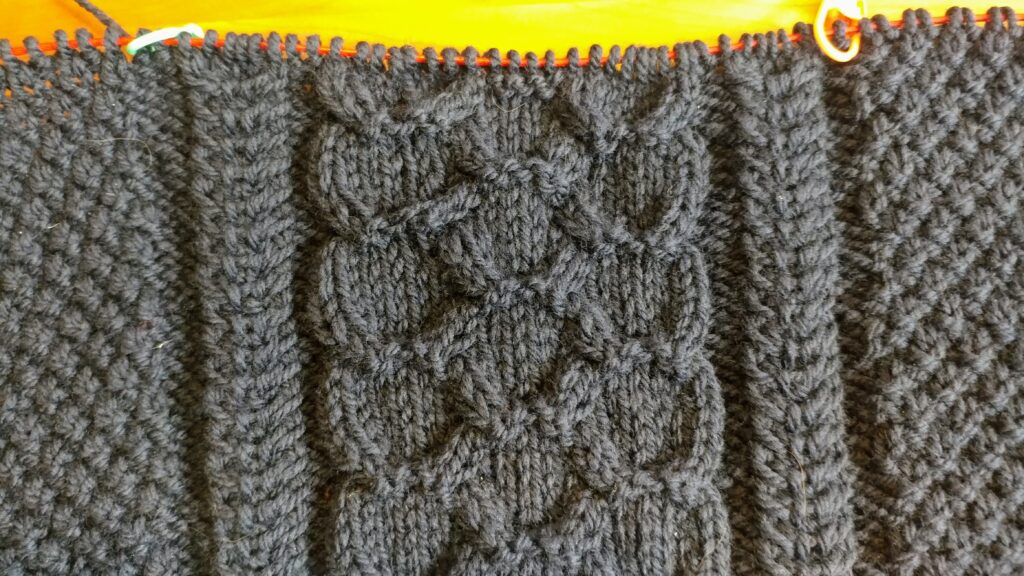
I started this cabled sweater before the pandemic started, in January 2020. I’m making it for my now husband, who was ‘only’ my boyfriend at the time I started this sweater. One of my personal goals for this year is to finish this sweater so I can make other things for myself without feeling the guilt of constantly putting this project on the backburner. I finished the back last year and the front in March. I started work on the sleeve and found I made an error in the honeycomb section. It’s hard to see in these photos, but trust me when I say there’s an error there. I had to tink about 20 rows back to fix it.
Working Back to the Mistake
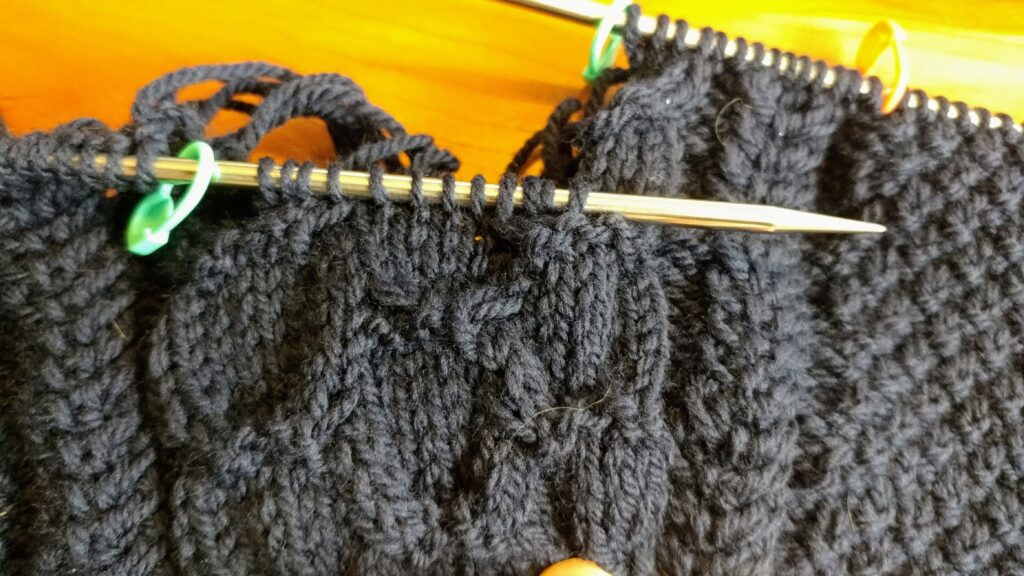
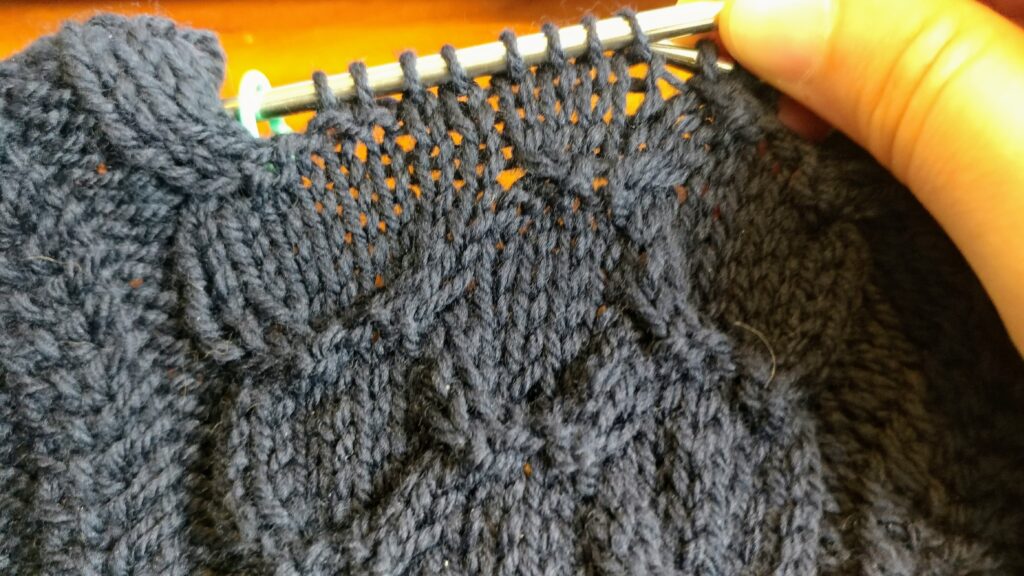
I marked the section where I needed to make the fix with stitch markers, then carefully tinked the cables back, row by row.
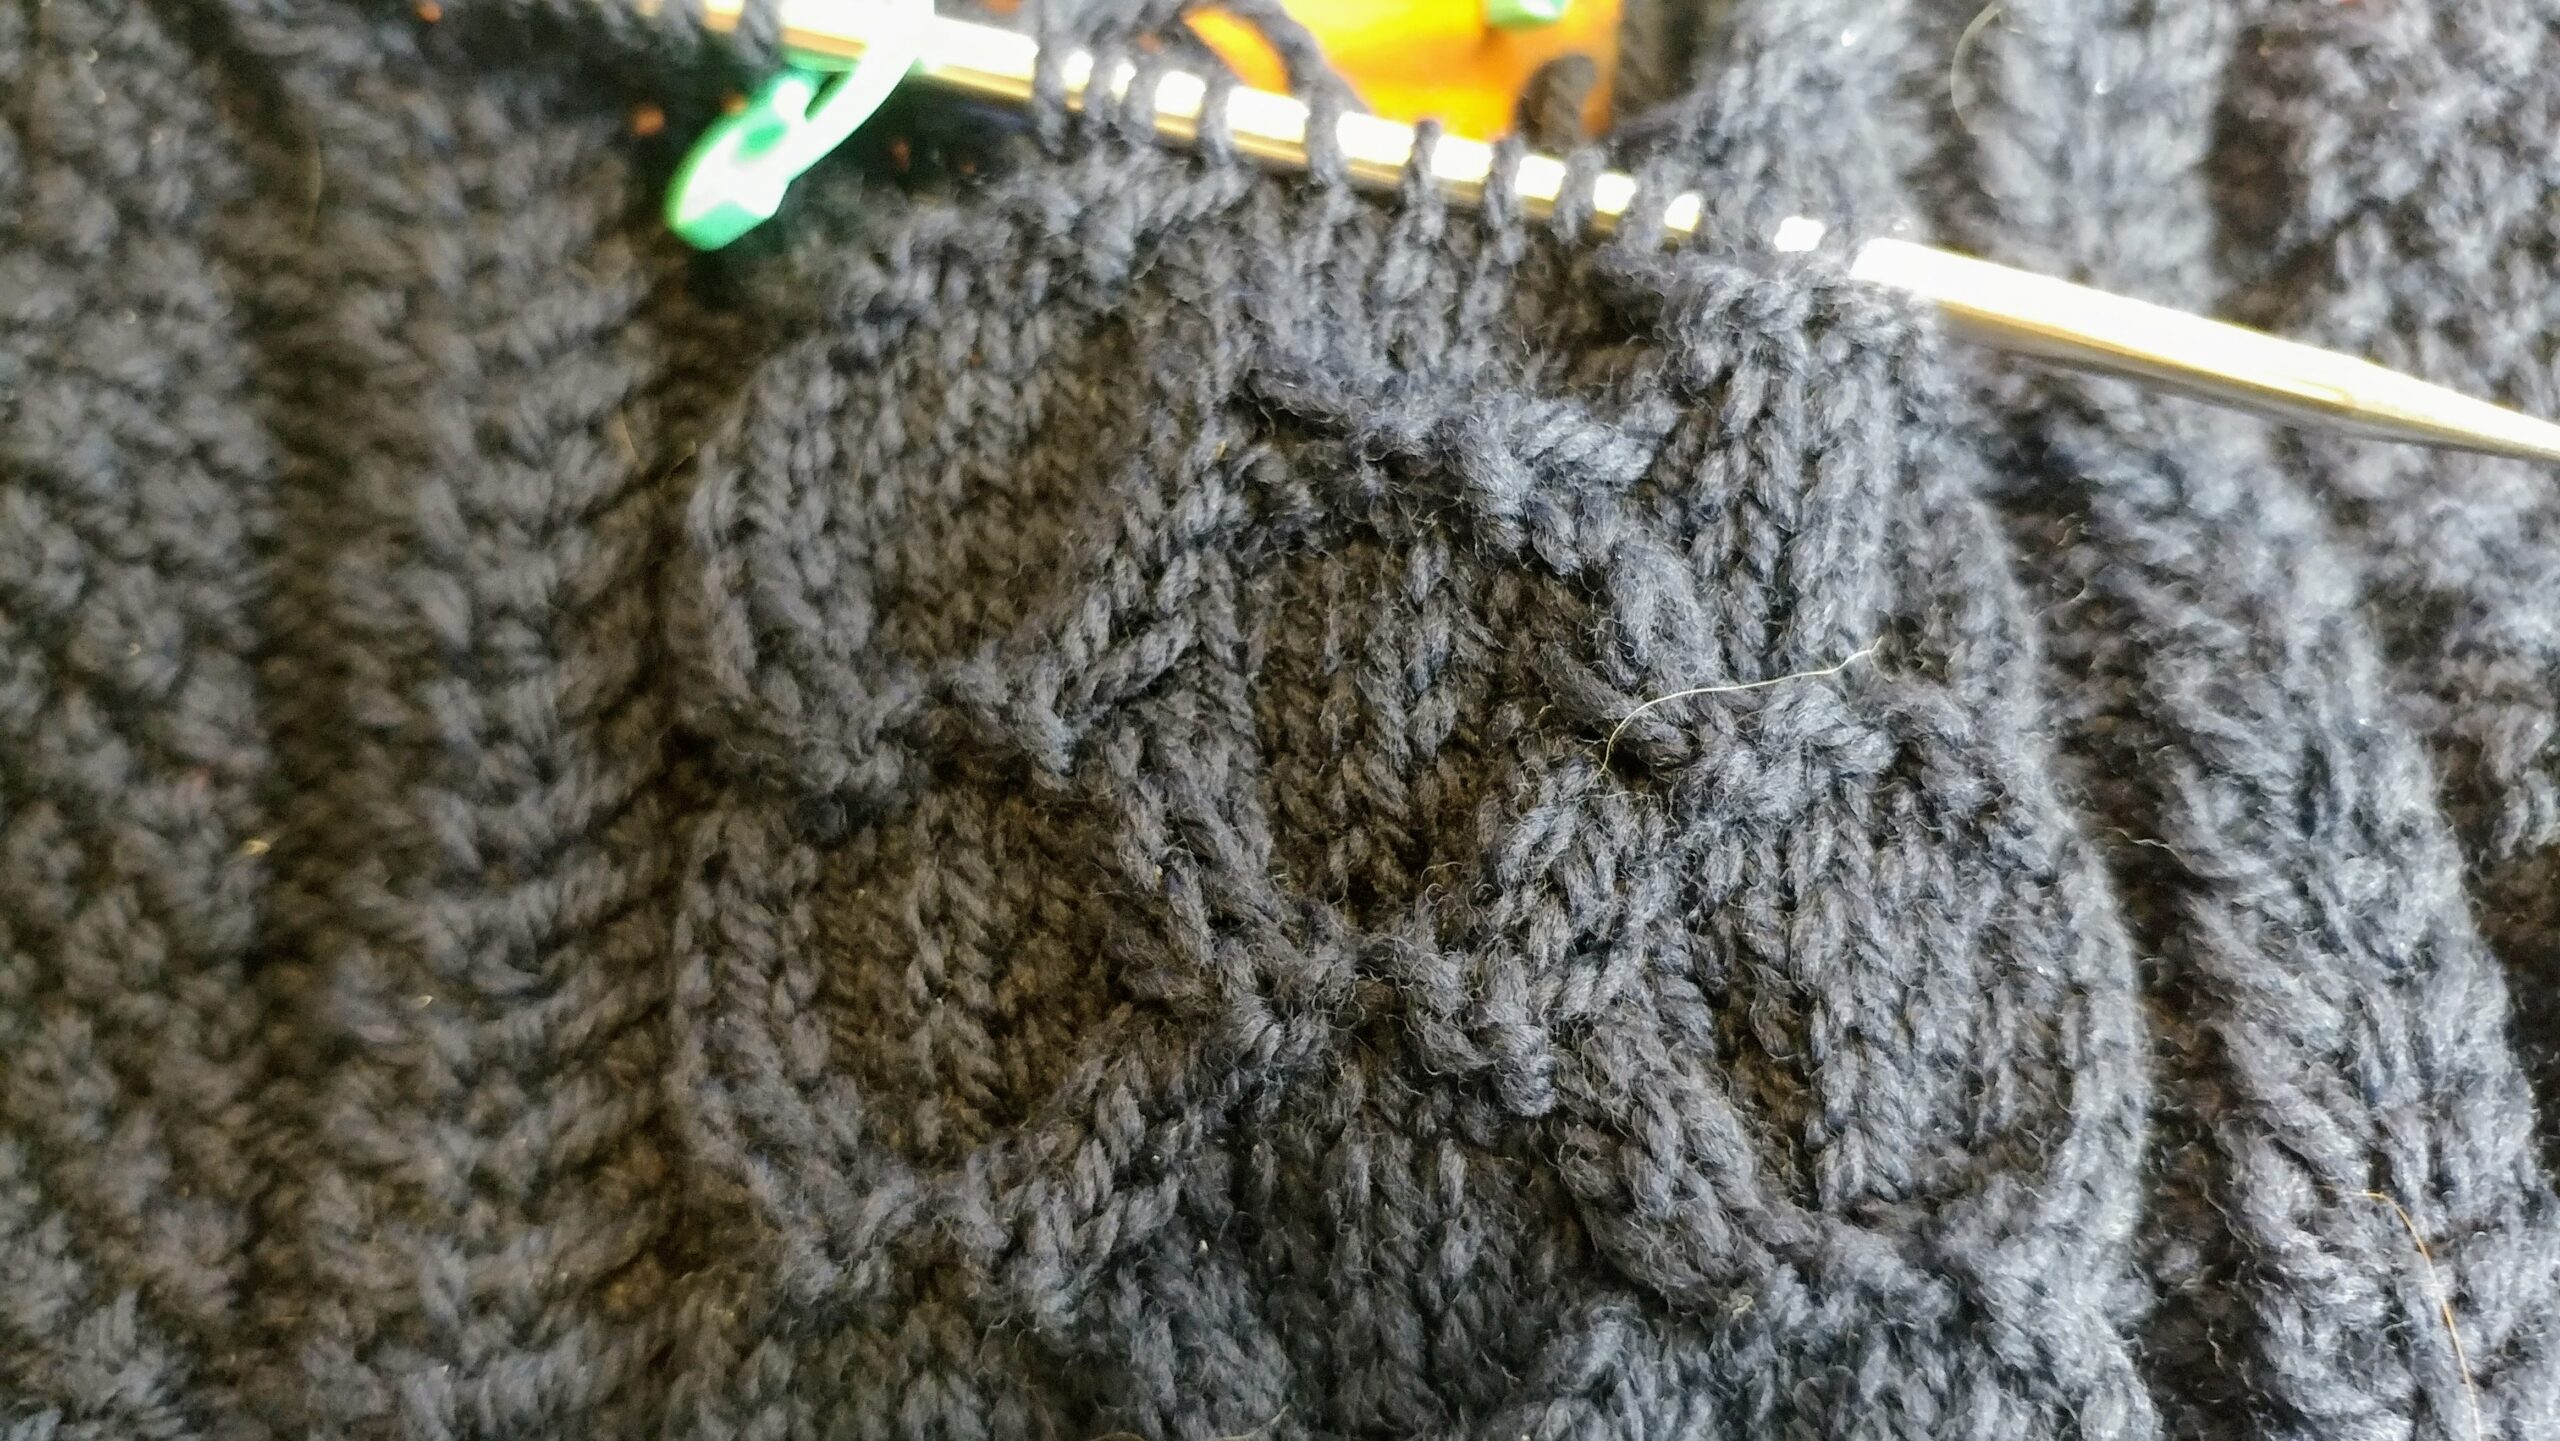
I made the center honeycomb cable over six stitches instead of eight, and as a result the cable was slightly offset. I even have a hard time seeing it in the photos but trust me, 20 rows later there was something “off” about that row. After fixing the offending stitches, I was able to knit that section back up.
Knitting Mistake Completely Fixed!
I hope this post inspires you to fix your knitting mistakes instead of ripping out! You can see all my posts on knitting here. If you are still feeling intimidated by fixing your knitting mistakes, the Yarn Harlot has a brilliant tutorial on how to fix a mis-crossed cable. All you need is a little patience and some time.