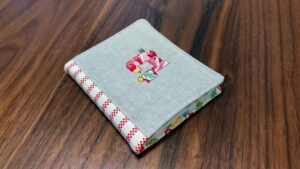
While I haven’t been posting very much this year, I am still finding time to make things! I have a pair of beautiful embroidery scissors from Maison Sajou, and all these years I’ve been keeping them in the little box they came in. I’ve been wanting to make an equally beautiful scissor sheath to put them in, and I found these lovely ribbon embroidery kits from Lorna Bateman. I ended up purchasing two kits from her, the Roses & Wisteria Pincushion and its matching scissor sheath. I’ve been wanting do silk ribbon embroidery for the longest time and this was the perfect project for that!
Kit Contents

The kits are packaged well and include everything you need except for an embroidery hoop and scissors for the project. You may also want a hot glue gun, which I did end up purchasing to fit the embroidery tightly over the pincushion form. You have your choice of wood base for the pincushion – I picked mahogany. The instructions are excellent and include both general and project specific instructions.
Silk Ribbon Embroidery Steps

The key for me to get silk ribbon embroidery to look is to use short lengths of ribbon (around 12″) and to be very loose with the ribbon so it will form those lovely folds. The first time I tried silk ribbon embroidery many years ago I pulled the ribbon too tightly and the projects don’t look as nice as they could. So this was a very good exercise for me to let the ribbon do what it wants and give it a lot of length to do so.

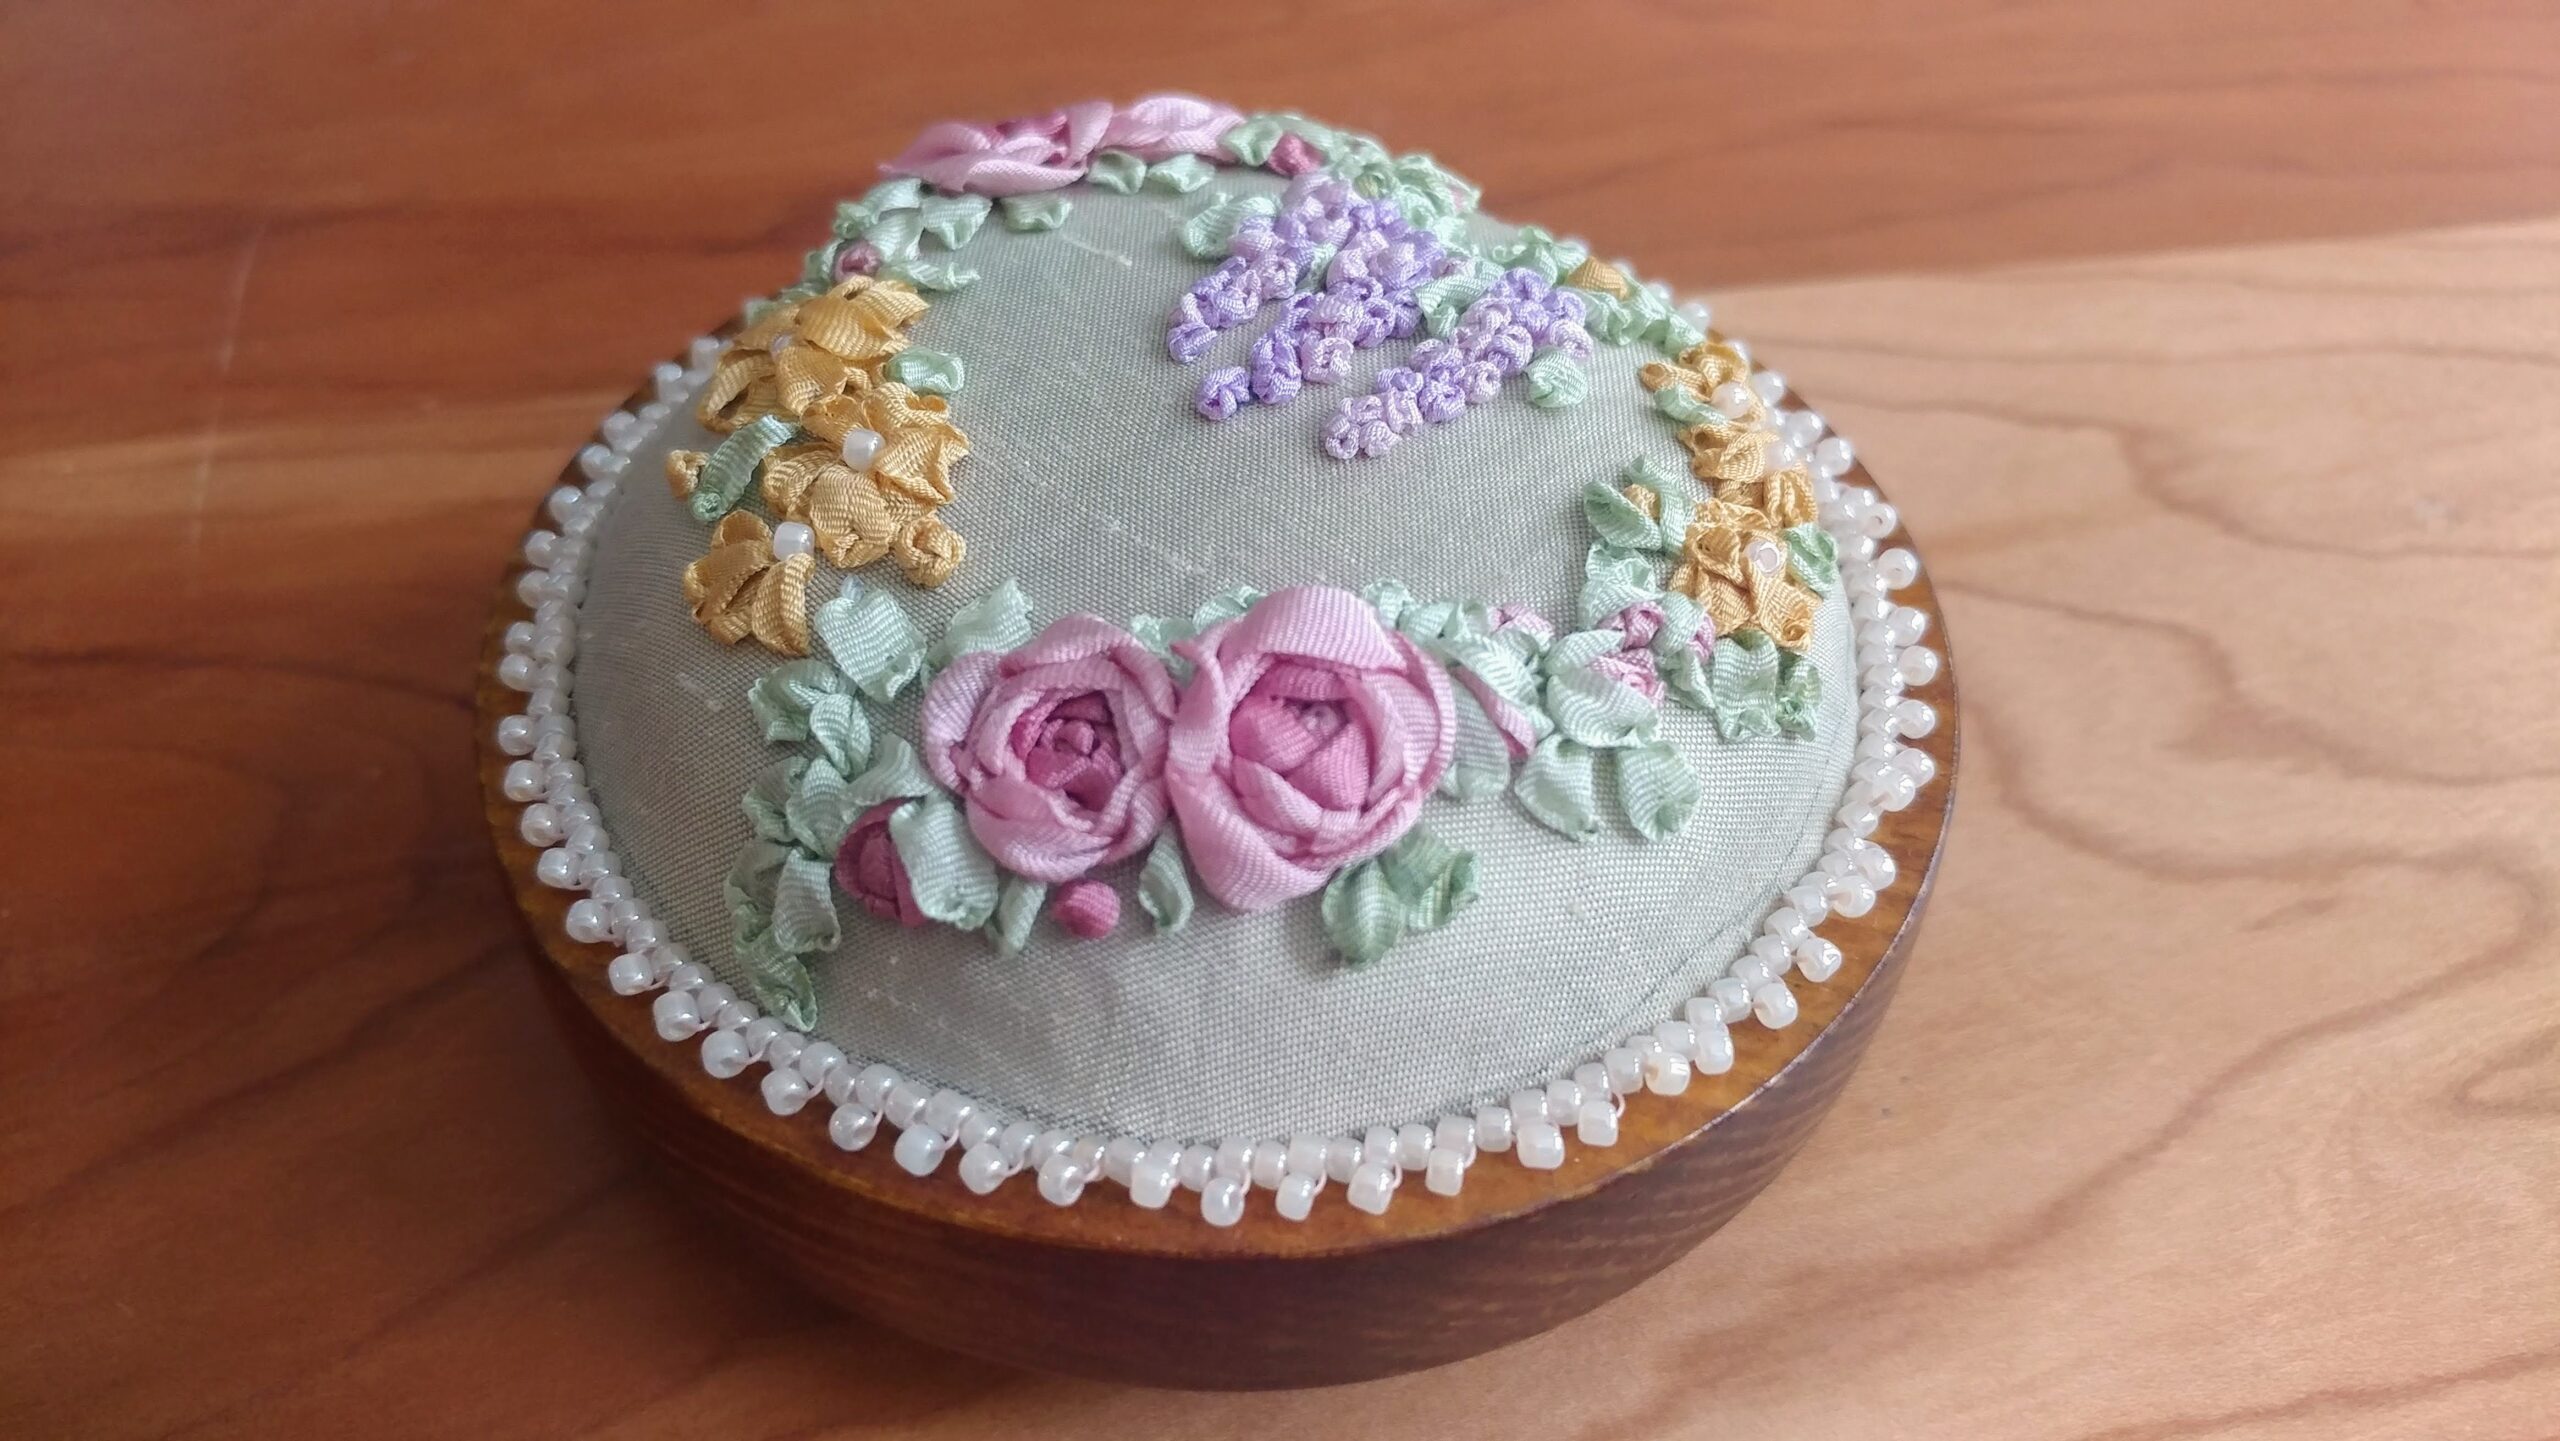
I enjoyed using two different colors to make the roses and the wisteria, and I feel it adds some extra dimension to the piece. For example, instead of making different colored roses, I made the roses with darker centers and lighter outer petals. The large roses are spider roses and the buds are french knots, detached chain stitches or a combination. The wisteria are french knots. The daisies are ribbon stitch and the buds are french knots or detached chain stitches.

All the greenery is in ribbon stitch. I was so happy and excited I forgot that I could use detached chain stitch or fly stitches for leaves! Something to keep in mind for the matching scissor sheath!
Finishing Steps

After finishing the embroidery, I gently hand-washed it and let it dry. Then I pressed with the embroidery face down on a towel to get the wrinkles out. Next I cut the embroidery out and used a running stitch to fit it around the pincushion form. I couldn’t get it fitting as tightly as I liked and ended up buying a hot glue gun to finish this task. I won’t be able to remove the embroidery to clean it later, so keep that in mind when you make yours! To finish the pincushion I added a beaded picot edge. This was really fiddly and took longer than the embroidery. If you don’t want to bead the edge there are a couple other trim options you can do to finish the project.

I’m really thrilled with how this turned out, and can’t wait to start on the scissor sheath! This Roses & Wisteria Pincushion kit was a great (re)introduction to silk ribbon embroidery for me. You can find all my posts on embroidery here. Do you enjoy silk ribbon embroidery? Have you made a Roses & Wisteria Pincushion? I’d love to know! Please leave a comment below!