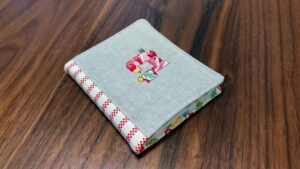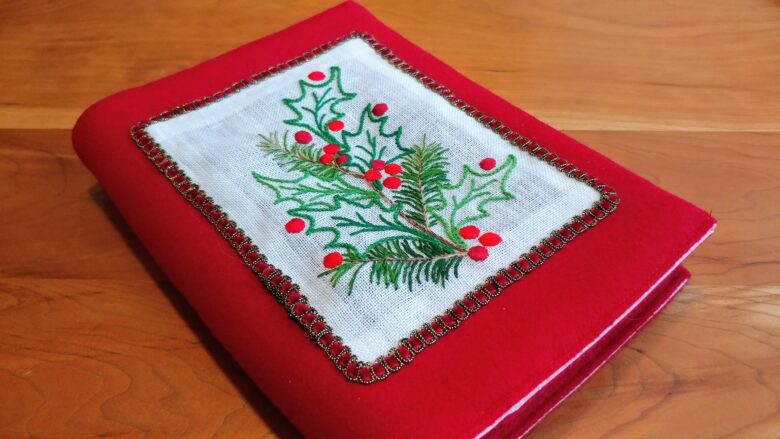
Remember that Holly & Evergreen embroidery I was working on? I finished the embroidery and put it on the cover of my fiance’s new choirbook! My fiance is a Christmas caroler over the holidays, and has been asking for a new choirbook cover. While a plain one would have sufficed, I wanted to make something a little bit more special for him. In this post I’ll show you how I made my Holly & Evergreen Notebook Cover, including how I attached the embroidery to the notebook cover and applied the trim. You can use this to make a notebook cover with any finished embroidery piece.

I used a tutorial from Spoonflower to make the cover with a red coating wool. Fusible interfacing gives the wool a little structure and I used a pink cotton from my stash for the lining. I did not make the pockets, and I edge stitched the entire cover before folding the inner covers over. The choirbook is spiral-bound and has fairly flimsy covers, so the interfacing and coating definitely make it very sturdy. I was tempted to cut down the seam allowances to 1/4″ but I think the 1/2″ seam allowances are perfect! If your notebook has sturdy covers you may not want the interfacing or larger seam allowances. It was very easy to finish the opening after you turn the cover with 1/2″ seam allowances.
It may be easier from a construction perspective to attach the embroidery before finishing the cover, but I wanted the embroidery to be centered and didn’t want to risk doing some bad math. I washed the embroidery and dried it, then steamed from the back to get the wrinkles out. I folded over the sides and pressed, guessing what might look nice. Then I cut 1/2″ from the folds before slipstitching the embroidery to the cover. I left the cover on while I attached the embroidery, and it’s not a big deal if your needle goes all the way through the lining since you won’t see it.

To finish the piece I added a gold braid trim around the embroidery. It’s very flexible and in the end was easy to attach! I ended up using a running stitch of sorts to pick up a bit of ribbon from the underside, then a stitch of the wool next to the embroidery. This hides your attachment stitches and feels very secure to me.

There is a little bit of shadowing from the wool peeking through the embroidery linen – if I was to make something like this again I would add some interfacing or other piece of fabric under the embroidery. I think this would also help making my edges every straight, but I kind of like the slightly organic feel of the piece.

A note on the embroidery – I used all the same colors as in the design, except for the variegated brown, which was a hand dyed variegated brown cotton. This was great practice for split stitch, Palestrina stitch, and padded satin stitch dots. I really enjoyed mixing colors in the needle to get extra color variation.

I hope this inspires you to do more with your embroidery designs than framing them! A little bit of hand embroidery can make a big difference on a garment or a gift. I’m very happy with how this Holly & Evergreen Notebook Cover turned out and can’t wait to see my fiance’s face when he receives it! If you need a new spiral notebook cover, I hope you give the Spoonflower blog post a try.